Do what again? Selling sweets at our local market. It was my very first opportunity to sell, and as exciting as that was, that wasn’t the best part. The best part was to meet some really great people, to chit-chat, and to share Christ. I was so excited and nervous about my first sales opportunity, that my first thought wasn’t to preach Christ, as it should have been. But praise God, even with my shortcomings people asked about my faith due to the Bible verses that are printed on my business cards. It was cold, it was windy, but I would do it every day of the week, it was just so much fun!
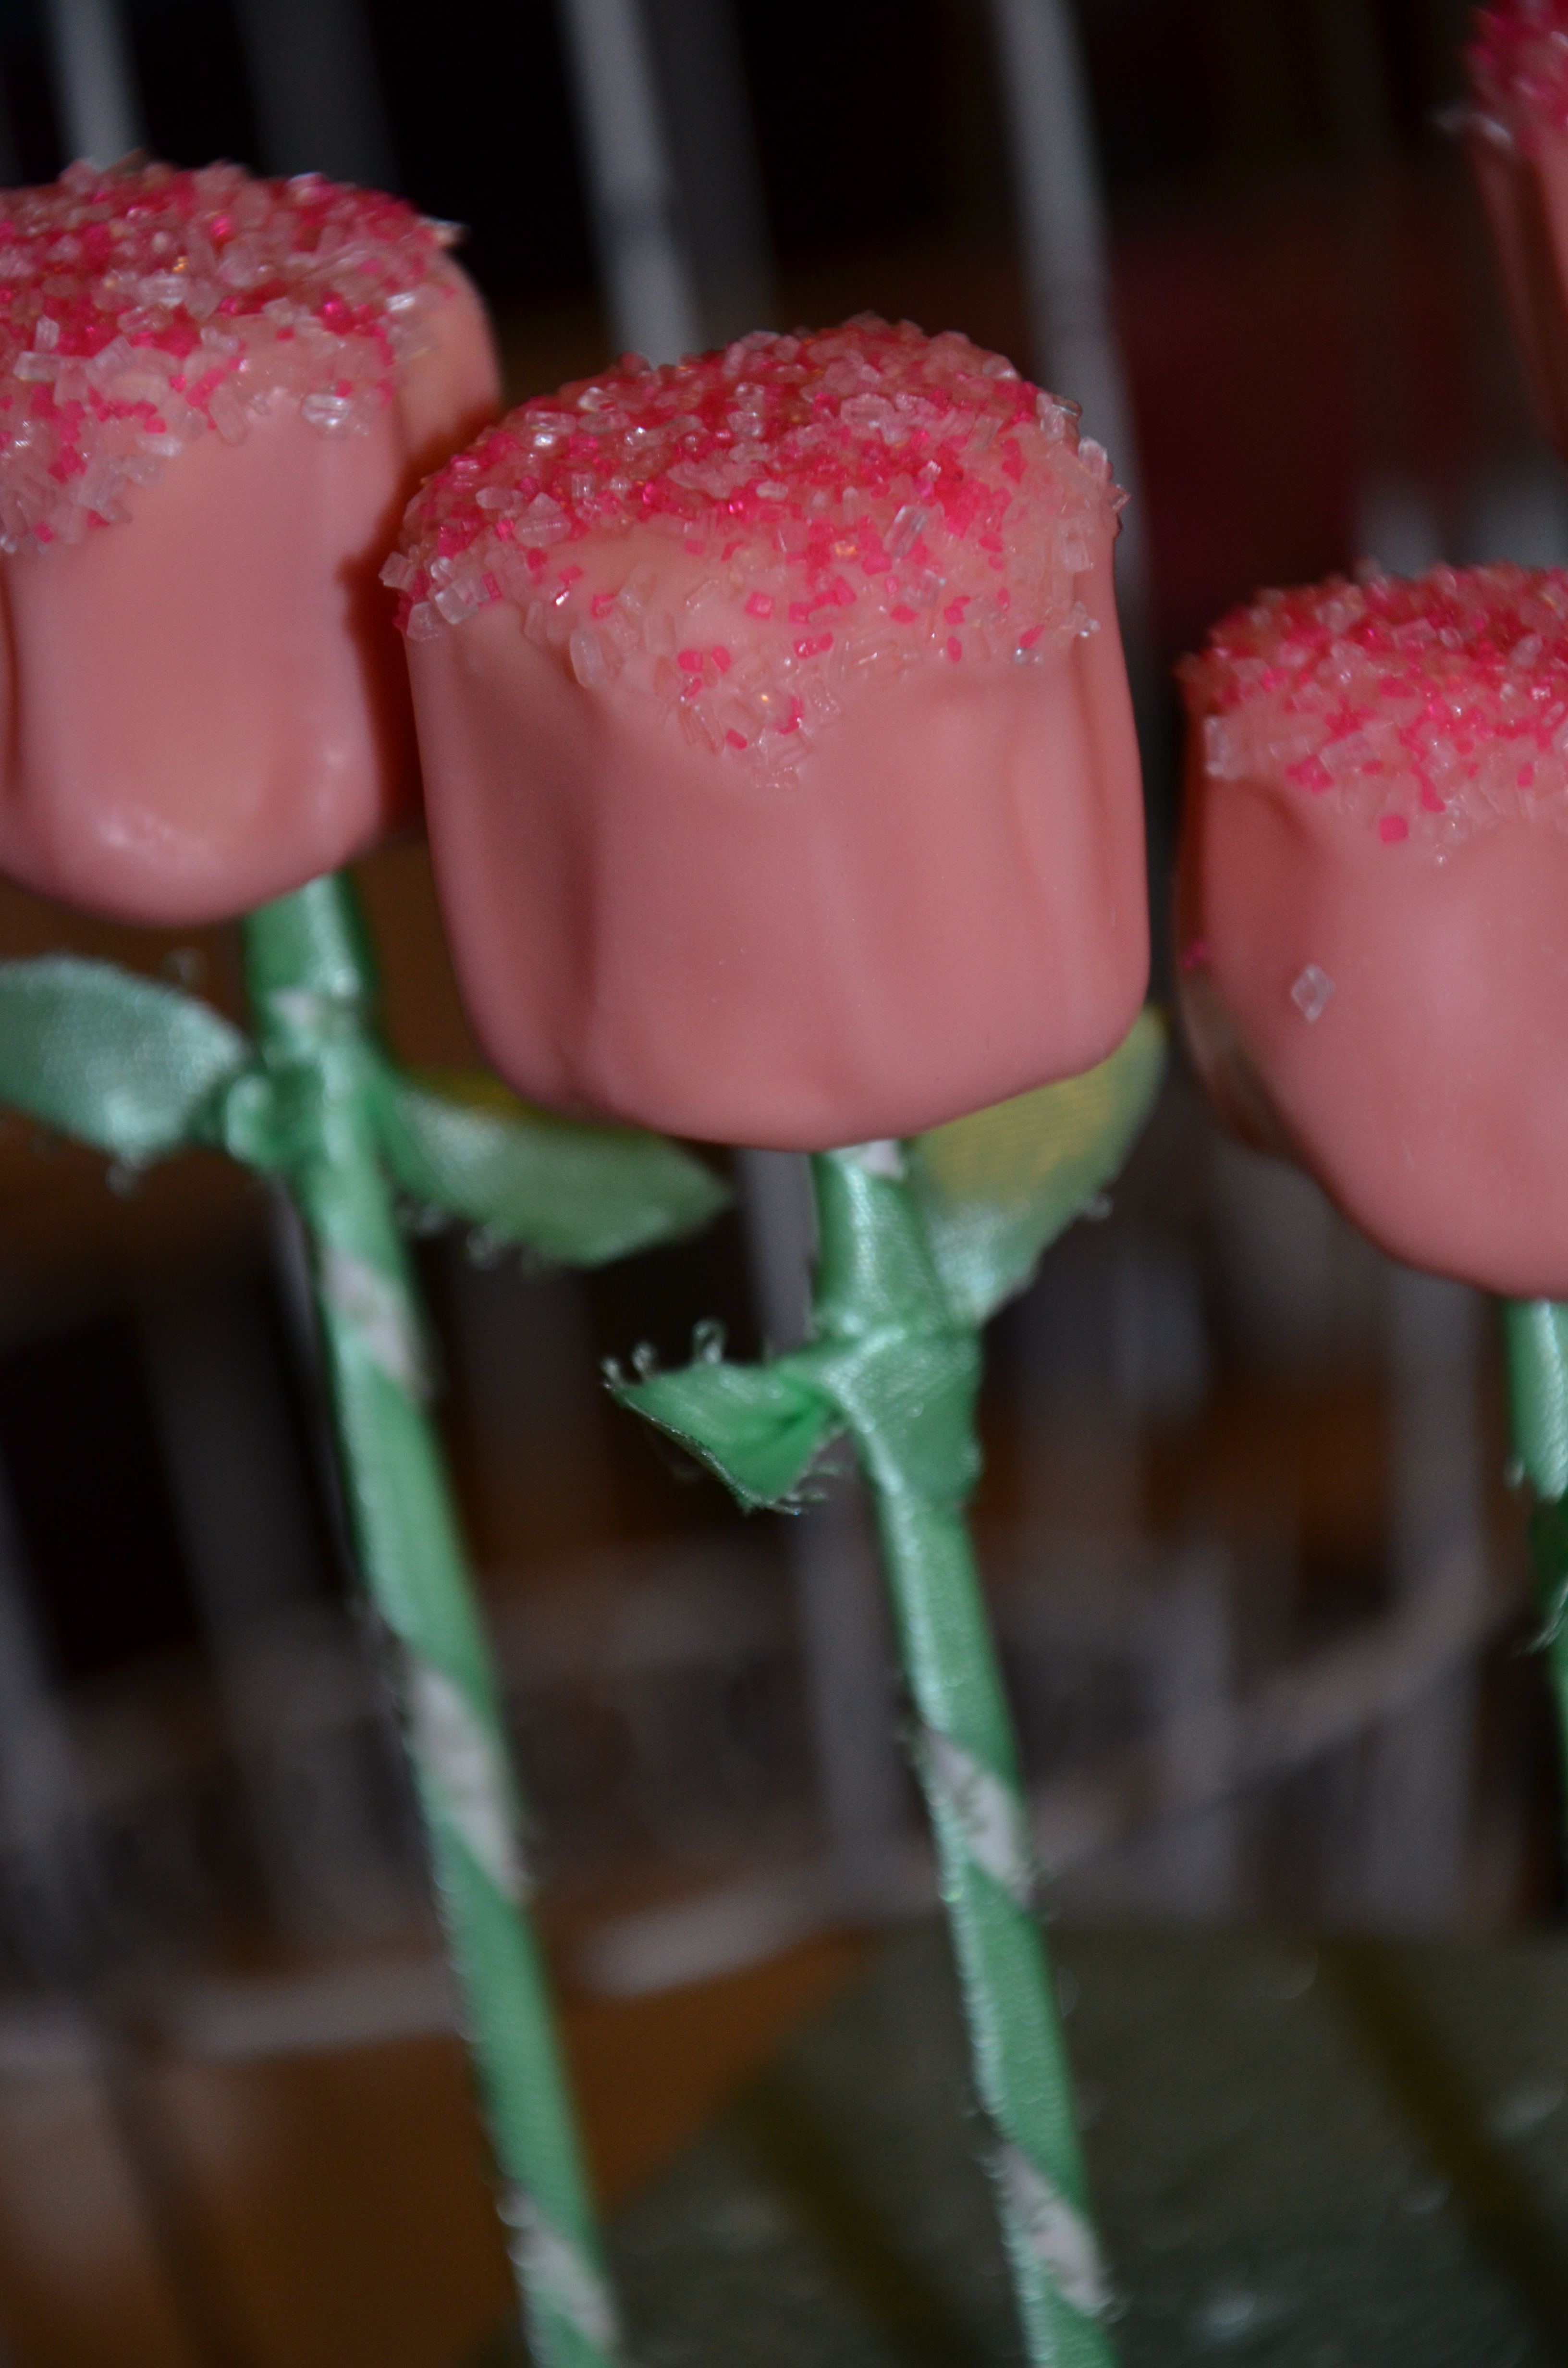
So what did I make? Peanut butter cupcakes filled with strawberry preserves and topped with peanut butter buttercream, chocolate cupcakes with fresh strawberry frosting and a two-tone buttercream rose, and finally a pineapple upside-down cupcake with fresh pineapple frosting and a two-tone buttercream rose. And additionally, I made chocolate covered marshmallow flowers. You can go to my Order page to see prices if you are interested in purchasing.
The thing that you would think would be the easiest to make, the flower pops, are very time consuming and a little tricky to make. I’m sorry that I do not post more step-by-step pictures, but I was literally up for 32 hrs. straight without any sleep getting ready to sell and didn’t remember to do so.
This is the finished product. I got the idea from a Pinterest post and thought, “I could do that, only gluten-free”.
The first step is to purchase lollipop sticks, marshmallows, ribbon, sprinkles, and chocolate coatings. Make sure to have a glue gun and a Styrofoam block as well.
Place your fingers on top of the marshmallow and push the stick all the way through until you can feel the top of the stick hit your hand, but don’t let it go through the top of the marshmallow.
After you have microwaved your chocolate coatings to a liquid consistency, dunk your marshmallow (that you have already attached to the stick) into the chocolate and cover well. Using the back of a spoon, smooth the excess chocolate back into the bowl, otherwise you will get a drippy mess once you turn it over.
It is good to note that you should use your lollipop sticks to have already created deep holes in your Styrofoam block so that when you are ready to put your chocolate covered marshmallows into the freezer, it will not drip everywhere. Also, make sure that there is room in your freezer prior to starting and enough height to clear the lollipops. The less height the farther down in the block you will have to push the sticks. I found that keeping the plastic covering on the block (as it has when you purchase it) is best. You can find cheap blocks in the craft aisle at your local dollar store.
Once our marshmallow is covered with chocolate and the excess has been removed, have your sprinkles ready in a shallow bowl nearby and dunk, just the very top of the flower, into the sprinkles, coating liberally.
Briskly, turn marshmallow flower right side up and place in your Styrofoam block, and pop it into the freezer.
Once the chocolate is set, not tacky, starting at the top of the stick, put a small dot of glue. Cut the end of the ribbon at an angle and attach to the stick. Spiral down, wrapping the stick with the ribbon, leaving a little white space between each strip.Cut the end of the ribbon at an angle and glue at the bottom of the stick. Cut a four inch piece of ribbon and cut the ends of the ribbon at an angle to resemble leaves. Tie to the top of the stick and inch or two under the marshmallow flower. And Vola! Soon you will have a entire bouquet!

Since it takes a while, make yourself comfortable and watch your favorite TV series or listen to your favorite music while working. My series of choice: I Love Lucy.
Onward to the Pineapple Upside-Down Cupcake Recipe.
Items to have on hand: pineapple tidbits (a larger can, you will want the extra juice), your favorite all purpose gluten free flour (I used King Arthur, but it was a little dense so you may want to use Pamela’s), brown sugar (I used the Great Value brown sugar/Splenda mix), 2 sticks of butter, Stevia or regular sugar, almond milk, 1 egg, and baking powder. Also you will need the ingredients for my buttercream recipe plus an extra 2lb bag of powdered sugar (just in case you need to thicken the recipe). If you would like to do the two tone roses, make sure to have yellow icing gel, a piping bag and a 104 Wilton tip. Also, you will need a Wilton 230 tip for filling.
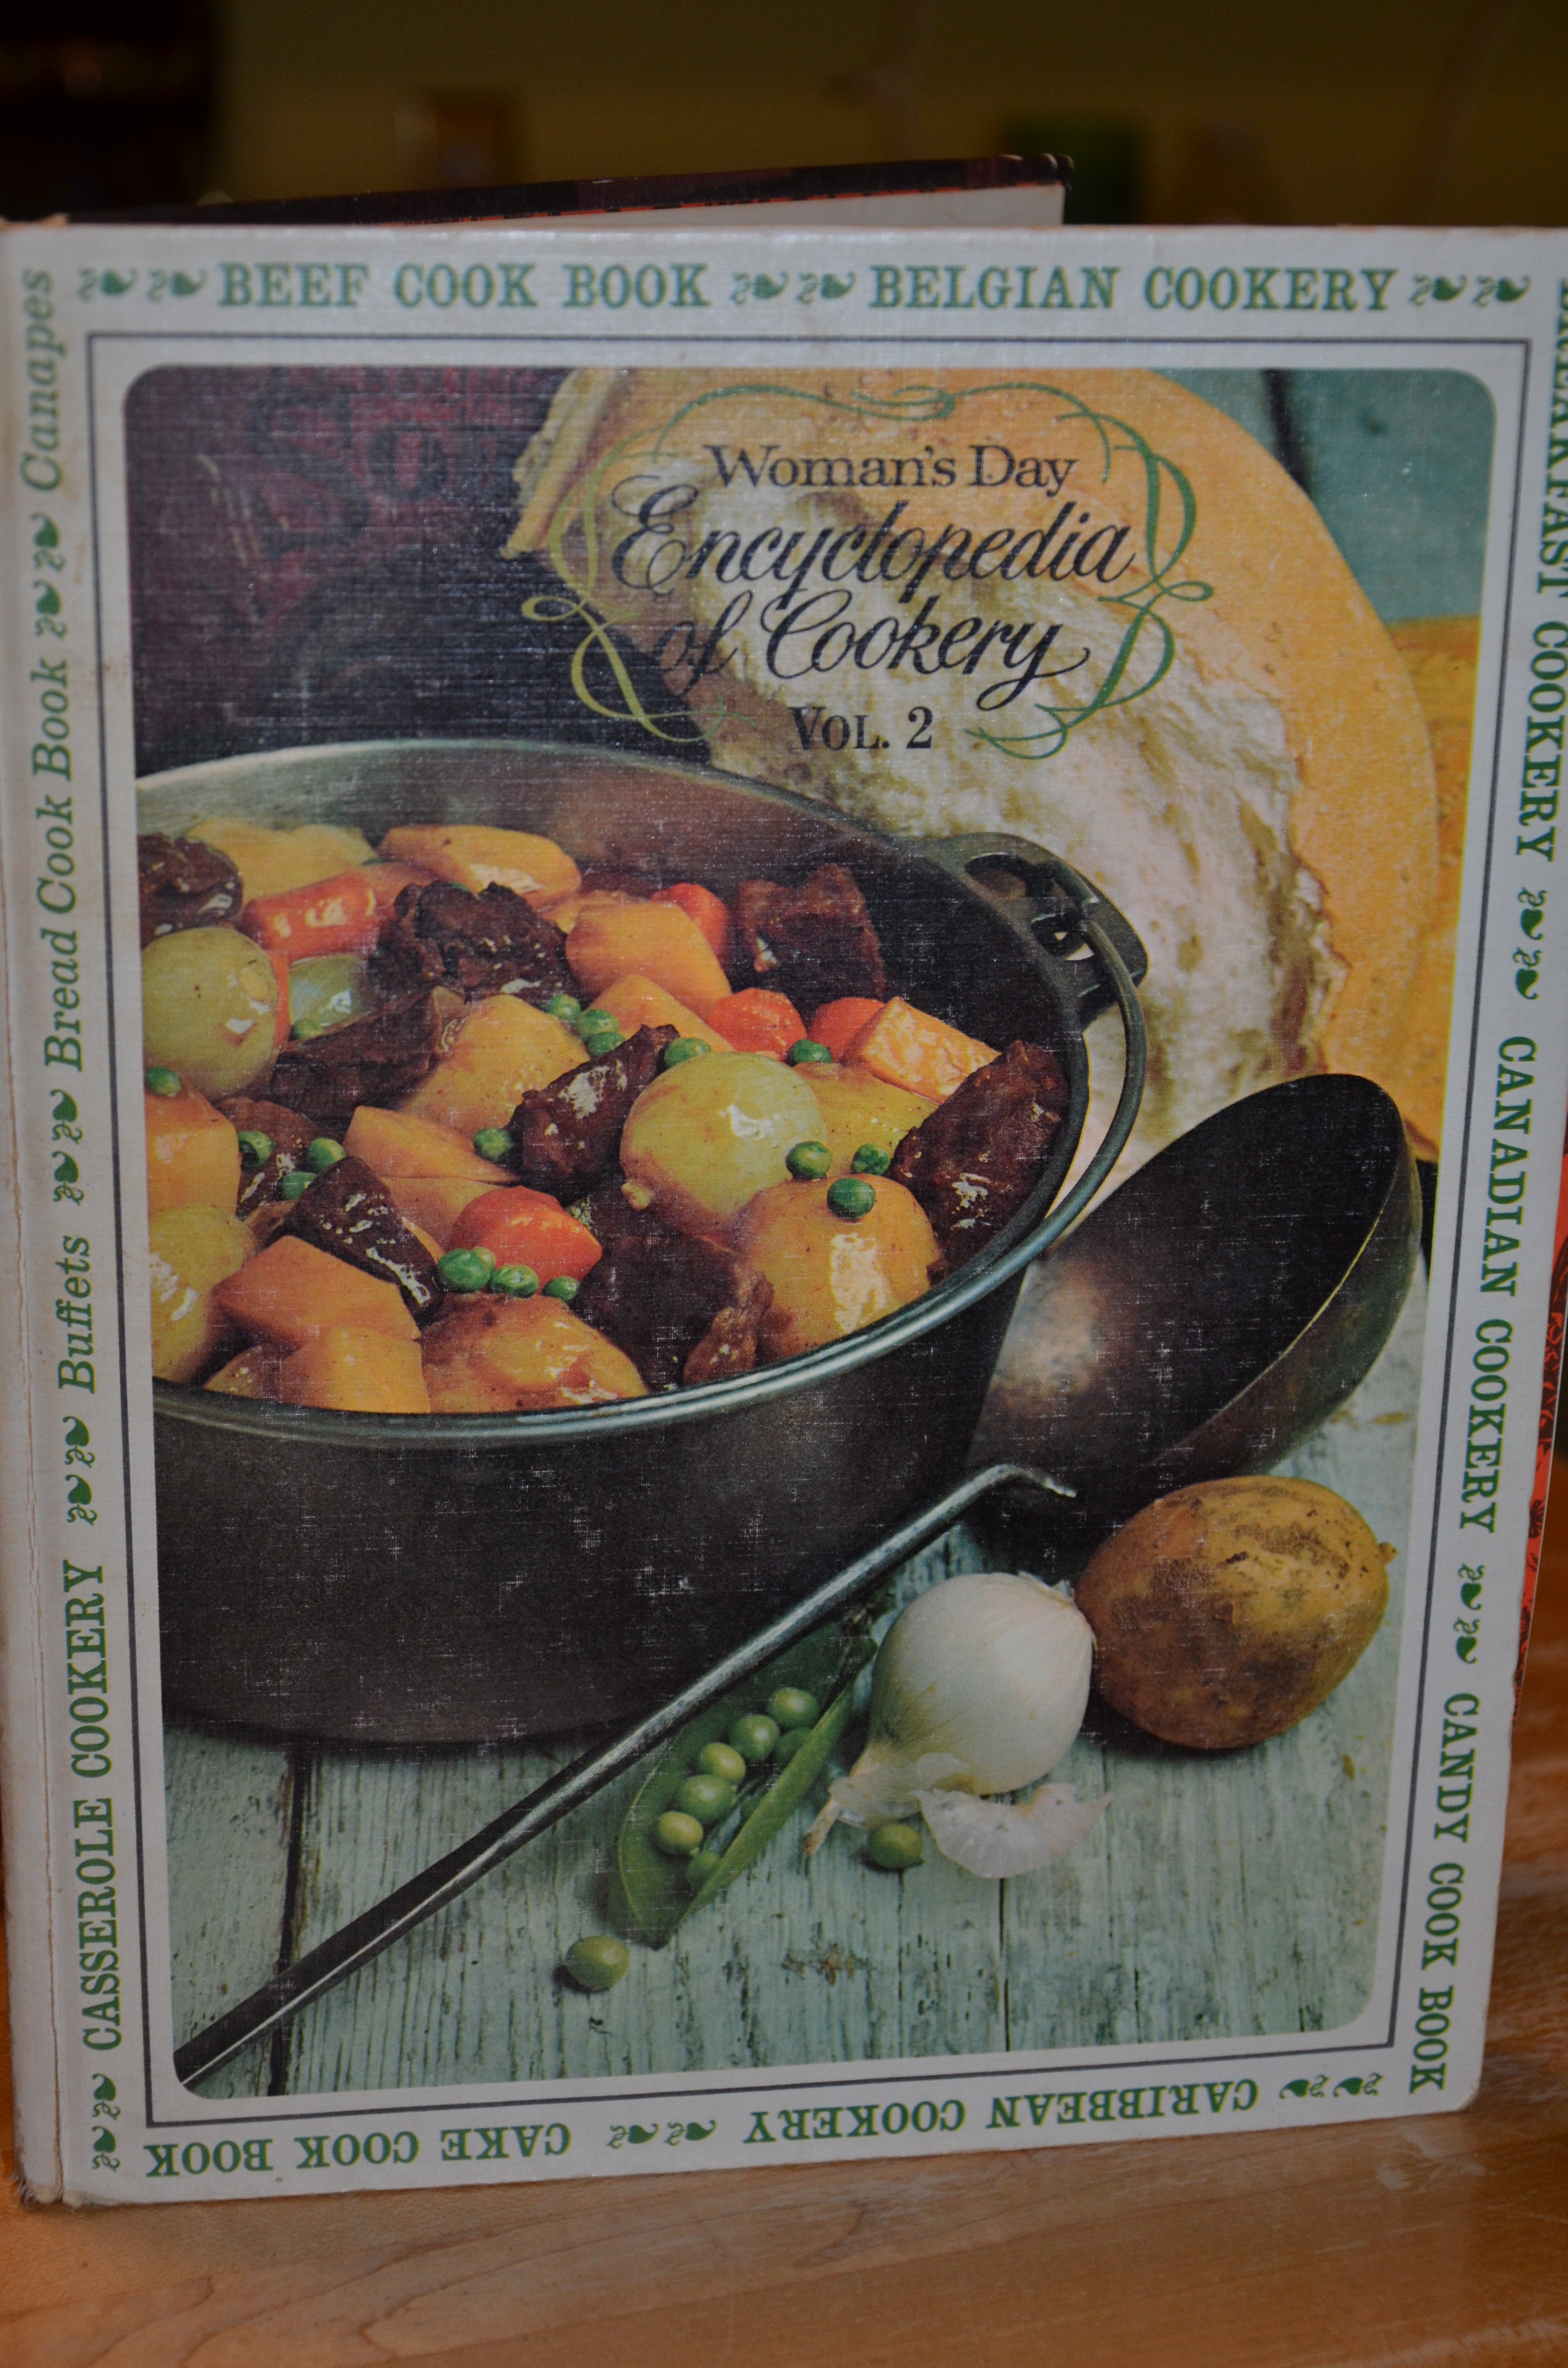
I love collecting old cookbooks. The original recipe for the Pineapple Upside-Down Cake and the American Applesauce Cake (in part II) is adapted from an old Woman’s Day cookbook.
 Preheat your oven to 350 degrees. With a soften butter stick, grease a muffin/cupcake tin liberally (I greased the sides with shortening), leaving extra butter in the bottom of each compartment. Sprinkle brown sugar over the butter enough to cover the bottom completely. Press your pineapple tidbits into the brown sugar, in the pattern you desired. I did a cross.
For your cake batter mix together 1 egg, 1 1/2 cups flour, 1/2 cup sugar, 1/2 cup butter, 1/2 tsp. salt, 1 1/2 tsp baking powder 1/4 c milk and 1/2 cup pineapple juice. Add more pineapple juice if you think that your batter can hold in. More is better. Just be sure to reserve 1/2 of the can of juice for your filling. When the batter is smooth, pour over the pineapple and brown sugar and bake until golden brown.

When they are done, go around each cake with a knife to loosen, then flip the pan over onto a cookie sheet that has been covered with foil, parchment paper or wax paper. Tap on the pan firmly and, with a little coaxing, all of the cakes should pop out beautifully. Let these cool and work on your frosting
On my cupcakes, I put the pineapple buttercream on the cupcake, but because of the fresh fruit it wanted to slide off. So I would recommend using a 230 Wilton tip and use it as a filling.
For 12 cupcakes, make my buttercream recipe, and then separate it into two containers. To one, add 1/2 cup pureed pineapple and 1/2 cup pineapple juice. If it becomes too runny, mix in a little more powdered sugar. This will be your filling. Fill your cupcakes when cooled.

The second batch of butter cream you will use for the two tone rose. Follow the rose tutorial for more instruction, using yellow icing coloring. Place the cupcake into a bright yellow cupcake holder to finish it off.
I have been typing away all morning, so I am going to go outside and enjoy some of the day before the rain starts up again. I will come back with part II of this post, Lord willing, later today.


